Programming the How To Program Lty Teeter Free Step: A Comprehensive Guide
Introduction
In the present quickly changing mechanical scene, dominating the programming of imaginative gadgets, for example, the how to program lty teeter free stepWaver Free Step is fundamental for further developing client commitment and usefulness. This extensive aide intends to take you through the programming system bit by bit, engaging you to open the maximum capacity of this surprising gadget. By understanding how to successfully program the LTY Waver Free Step, you can make a customized experience that takes care of explicit client needs, eventually improving execution and fulfillment.
Whether you’re a wellness proficient hoping to give tweaked exercise routine schedules or a client keen on further developing equilibrium and coordination, this guide will furnish you with the vital information and abilities. You’ll find nitty gritty guidelines and tips that will assist you with exploring the programming point of interaction, change settings, and set up client profiles. Toward the finish of this aide, you’ll be completely ready to take advantage of your LTY Waver Free Step, guaranteeing it meets your singular prerequisites and improves your general
Insight.
Understanding the LTY Teeter Free Step

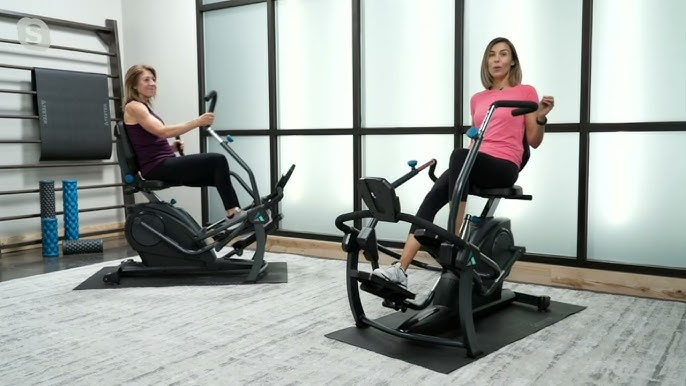
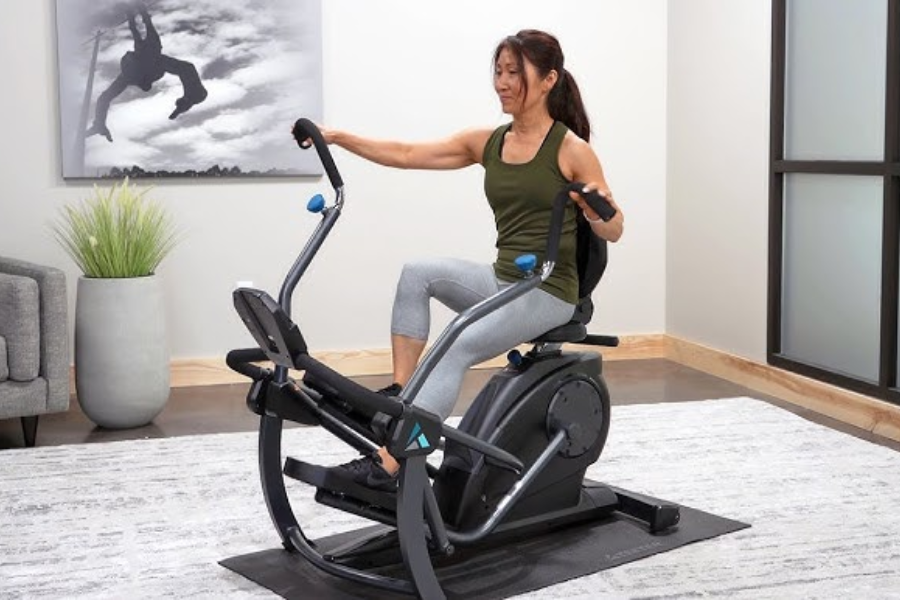
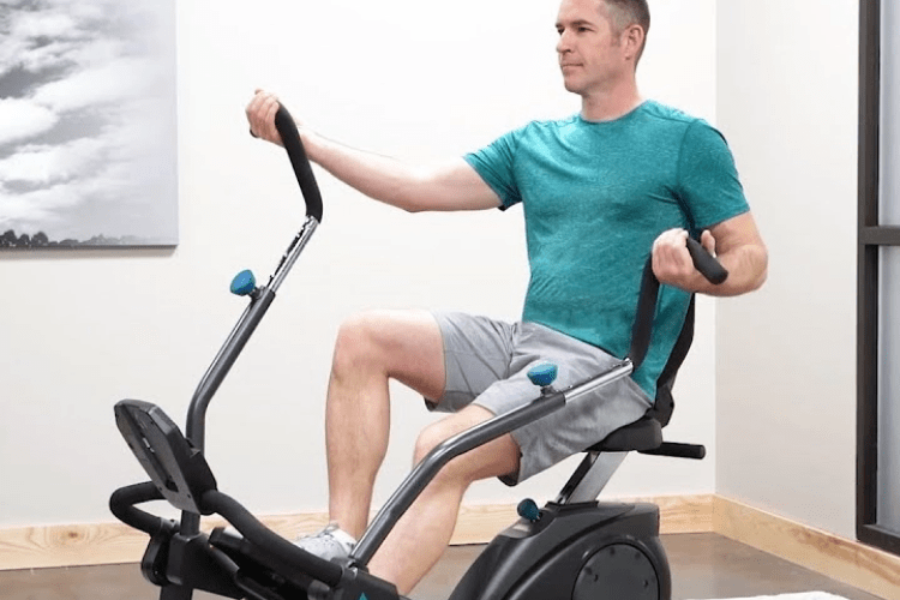
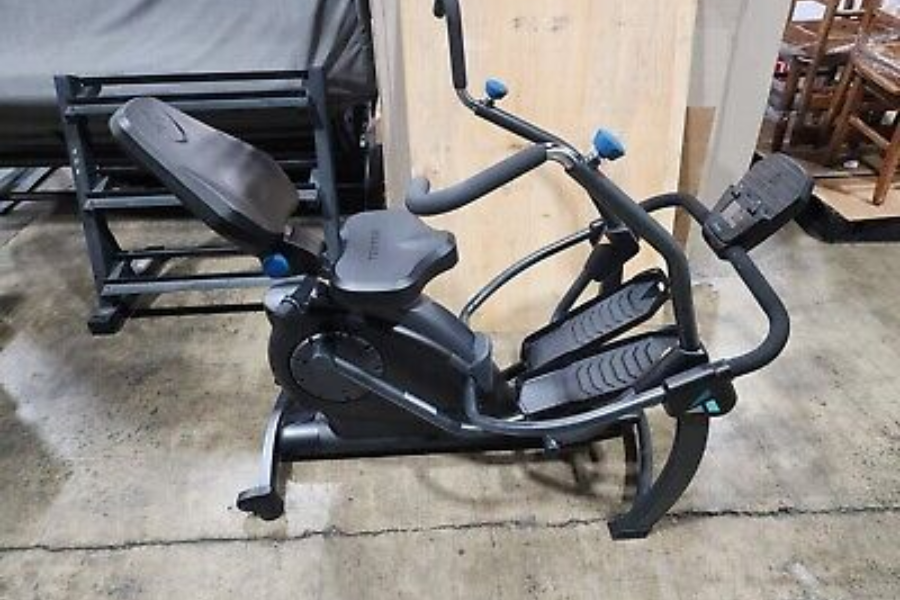
Before we get into the programming aspects, it’s important to first grasp what the LTY Teeter Free Step actually is. This imaginative gadget fills various needs, making it an important device in both wellness and restoration conditions. At its center, the how to program lty teeter free stepWaver Free Step is designed to offer a stable yet unique stage that advances adjusted developments. This special plan urges clients to participate in various activities, going from straightforward equilibrium preparing to additional complex proactive tasks. By cultivating soundness and backing, the gadget permits people to work on their solidarity, coordination, and by and large actual execution. Whether utilized in an exercise center, restoration focus, or home wellness space, the how to program lty teeter free stepWaver Free Step stands apart as a fundamental piece of hardware pointed toward upgrading development quality and empowering a more dynamic way of life. Understanding these basics will assist you with valuing its modifying potential, guaranteeing you can fit the gadget’s highlights to meet explicit client objectives.
Getting everything rolling: What You Want
Before diving into the programming of the how to program lty teeter free step it’s important to prepare by gathering a few essential items. First and foremost, ensure you have the LTY Teeter Free Step device itself, fully assembled and in working order. It’s crucial that the device is functional to facilitate a smooth programming experience. Next, you will need the appropriate programming software, typically provided by the manufacturer. Ensure this product is introduced on your PC, as it will act as the connection point for designing the gadget’s settings. Furthermore, a USB link is important to lay out an association between the LTY gadget and your PC, taking into consideration consistent information move during the programming system. Having the client manual not far off is likewise prudent, as it contains explicit directions and investigating tips that can help you en route. At last, having a fundamental comprehension of programming ideas will enormously upgrade your capacity to explore the product and capitalize on the gadget’s highlights. By gathering these components, you’ll be good to go to leave on your programming process with the LTY Waver Free Step.
Step 1: Connect the Device
The first step in programming the how to program lty teeter free stepFree Step is to ensure that you establish a proper connection between the device and your computer. Start by turning on your LTY Waver Free Step; make sure that it is connected and that any essential markers, like lights or shows, are working appropriately. When you affirm that the gadget is functional, take the USB link and interface one finish to the LTY gadget and the opposite finish to a USB port on your PC.
In the wake of interfacing the USB link, give your PC a second to perceive the gadget. This might require a couple of moments, during which your working framework ought to naturally introduce any fundamental drivers to work with correspondence between the two gadgets. Assuming you notice any prompts or messages on your PC screen, follow them as needs be to guarantee the association is appropriately settled. It’s fundamental to have a protected and stable association, as this will permit you to proficiently program the gadget. When your PC recognizes the association, you’re prepared to continue on toward the subsequent stage in the programming system.
Step 2: Launch the Programming
SoftwareWith your how to program lty teeter free step connected to your computer, the next step is to launch the programming software required for configuring the device. Locate the software icon on your desktop; it may have a recognizable name or logo associated with the LTY Teeter Free Step. Double tap the symbol to open the application. On the off chance that you can’t find the symbol on your work area, you can get to the product through your PC’s applications menu. Contingent upon your working framework, you might think that it is in the “Begin” menu on Windows or in the “Applications” envelope on a Macintosh.
When the product is sent off, it might pause for a minute to stack completely, showing its connection point with different choices and settings. After it is prepared, you should choose your gadget from the rundown of associated gadgets. Look for the how to program lty teeter free step in the software’s interface; it should appear as an option if the connection was established successfully in the previous step.
Select the device by clicking on its name. This action will allow the software to recognize the LTY Teeter Free Step, enabling you to access its specific programming features and settings. Guaranteeing that you have chosen the right gadget is critical, as this step will prepare for you to modify and streamline the gadget as indicated by your necessities. When the gadget is chosen, you’re good to go to continue with the programming system.
Stage 3: Really get to know the Point of interaction

Once you have selected the how to program lty teeter free step in the programming software, take some time to familiarize yourself with the interface. The layout will likely feature various sections that are crucial for configuring and programming your device effectively. Navigate through the different tabs or menus to understand what each section offers. Common areas you might encounter include Settings, Configurations, and Programming Options.
In the Settings section, you may find parameters that allow you to adjust the device’s basic functionalities, such as power options, user profiles, and display preferences. The Configurations section is where you’ll set up specific features related to the functionality of the Teeter Free Step, such as exercise modes or resistance levels. Lastly, the Programming Options will be where you can customize the device’s operation to suit your workout routines or rehabilitation needs.
Take a moment to click through these sections, observing the various features and options available. This exploration will help you understand how to make the most of the software and, by extension, the how to program lty teeter free step itself.
Access Help Resources
As you navigate the software, keep an eye out for any help resources that may beintegrated within the application. Many programming connection points incorporate instructional exercises, FAQs, or backing documentation to help clients in benefiting from their gadgets. Search for an assist symbol, generally portrayed as an inquiry with marking or a day to day existence ring, commonly found in the toolbar or menu.
These assets can be important, particularly in the event that you experience any vulnerabilities or need explanation on unambiguous elements. They frequently give bit by bit guidelines or investigating tips that can improve on the programming system. Consulting these materials will enhance your understanding and confidence as you program the how to program lty teeter free step ensuring a smoother experience overall.
Familiarizing yourself with the layout and accessing help resources will prepare you for the next steps in customizing your device to fit your unique needs.
Step 4: Set Up User Profiles

After successfully selecting the how to program lty teeter free step within the programming software, it’s important to take some time to familiarize yourself with the interface. The layout is typically designed with various sections that are essential for configuring and programming your device effectively. Spend a few moments navigating through the different tabs or menus to gain a clear understanding of what each section offers.
You will likely encounter several key areas, including Settings, Configurations, and Programming Options.
Settings: In this section, you’ll discover parameters that enable you to adjust the device’s basic functionalities. This might include options for power management, where you can set the device to automatically turn off after a certain period of inactivity. You may also find user profiles, allowing different users to save their preferences for a more personalized experience. Additionally, you can adjust display preferences, such as brightness levels or language settings, ensuring that the interface is user-friendly and tailored to your needs.
Configurations: Here, you will set up specific features related to how the how to program lty teeter free step operates. This can involve selecting exercise modes that suit your workout goals, whether that’s for strength training, rehabilitation, or general fitness. You might also find options to customize resistance levels, enabling you to tailor the intensity of your workouts. Understanding these features is crucial, as they allow you to optimize the device for your personal fitness journey.
Programming Options: This section is where the real customization happens. Here, you can modify the device’s operation to align perfectly with your workout routines or rehabilitation exercises. This might involve creating specific programs that focus on particular muscle groups or setting intervals for high-intensity workouts. The flexibility of the programming options means you can adjust the Teeter Free Step to meet your evolving fitness needs over time.
Step 5: Configure Settings
Adjust Sensitivity
Begin by configuring the sensitivity levels for the LTY Teeter Free Step. This setting is crucial as it dictates how responsive the device will be to your movements. A higher sensitivity level may result in more immediate reactions to shifts in weight, while a lower sensitivity could create a more stable experience. Depending on the user’s comfort and fitness level, finding the right balance will enhance their experience and effectiveness during workouts.
Choose Exercise Modes
Next, select the appropriate exercise modes that align with the intended use of the device. Whether the emphasis is on balance preparing, restoration, or wellness exercises, picking the correct mode is fundamental for fitting the experience to meet explicit objectives. Every mode offers various functionalities that take care of particular preparation needs, guaanteeing that clients benefit from their meetings.
Step 6: Program Custom Exercises
If the programming software permits, take advantage of the option to create customized exercises. Tailoring exercises to the user’s specific needs not only enhances engagement but also helps them achieve their fitness objectives more effectively.
Create New Exercises
Begin by designing new exercises that fit the user’s goals. Whether it’s focusing on strength, flexibility, or coordination, you have the flexibility to craft sessions that target specific areas of improvement.
Set Parameters
For each custom exercise, define key parameters. This incorporates indicating the length of each activity, the power levels, and the quantity of reiterations. By setting these boundaries, you can guarantee that exercises are both testing and achievable, assisting clients with remaining persuaded and centered.
Save Your Settings
Once you’ve created new exercises and defined their parameters, don’t forget to save your settings to the user’s profile. This will allow for easy access to these customized workouts in the future, streamlining the process for subsequent sessions.
Step 7: Test the Setup
After programming the exercises, it’s time to put the setup to the test.
Run a Test
Encourage the user to perform a test session using the newly programmed settings. This trial run is crucial for evaluating the effectiveness of the configurations and ensuring that they meet the user’s needs.
Observe Performance
As the user engages with the device, closely monitor their performance. Take notes on how well they adapt to the programmed settings and whether any adjustments are necessary to enhance their experience and effectiveness.
Step 8: Fine-Tune Programming
Gathering feedback from the user after the test session is an essential part of the programming process.
Gather Feedback
Engage with the user to collect their thoughts on the experience. Ask questions about their comfort level, the intensity of the exercises, and any challenges they encountered. This input will be invaluable for making improvements.
Make Adjustments
Based on the feedback received, revisit the programming settings to make any necessary adjustments. Whether it’s altering responsiveness levels, changing activity modes, or tweaking the boundaries of custom activities, guaranteeing an agreeable and viable exercise is vital to an effective client experience.
Upkeep Tips
To keep the LTY Waver Free Step working at its ideal, it’s critical to stick to normal upkeep rehearses.
Consistently Take a look at Associations: Guarantee all links and associations are secure before each utilization to forestall any interferences during exercises.
Programming Updates: Stay up with the latest to guarantee ideal execution and admittance to the most recent elements and enhancements.
Clean the Gadget: Make a propensity for cleaning the surface and parts of the gadget consistently. This keeps up with cleanliness as well as helps save the usefulness and life span of the gear.
Investigating Normal Issues
If you encounter problems while programming or using the LTY Teeter Free Step, consider the following troubleshooting tips:
Gadget Not Perceived: On the off chance that your PC isn’t perceiving the gadget, check to guarantee that the USB link is appropriately associated and that the gadget is turned on.
Programming Mistakes: in case of programming issues, take a stab at restarting the programming application and reconnecting the gadget. This can often resolve minor glitches.
Sensitivity Issues: If you notice sensitivity problems, revisit the sensitivity settings in the software and make adjustments as needed to better suit the user’s preferences.
FAQs
1. What is the LTY Teeter Free Step?
The LTY Teeter Free Step is a device commonly used in fitness and rehabilitation settings. It offers a stable yet dynamic surface designed to support a variety of exercises, such as balance training and low-impact workouts.
2. What software do I need to program the LTY Teeter Free Step?
You will need the proprietary software that typically comes with the device. Make sure it is installed on your computer before you begin programming.
3. How do I connect the LTY Teeter Free Step to my computer?
To connect the device, simply use the provided USB cable. Ensure the device is powered on, and the software should recognize it once connected.
4. Can I create custom exercises with the LTY Teeter Free Step?
Yes, if the software allows, you can create custom exercises by setting parameters such as duration, intensity, and repetitions, which can then be saved for future use.
5. How do I adjust the sensitivity of the device?
You can adjust the sensitivity levels within the software under the Settings or Configurations section. This will change how responsive the device is to movements.
6. What should I do if the device is not recognized by my computer?
First, check the USB connection and ensure the device is powered on. If it’s still not recognized, try restarting the programming software or reconnecting the device.
7. How can I troubleshoot software errors?
Most software errors can be resolved by restarting the application and reconnecting the device. If issues persist, consult the help resources provided in the software or visit the manufacturer’s support page.
8. How often should I update the software?
Regularly check for software updates to ensure the best performance and access to new features. Most updates improve functionality and resolve bugs.
9. Is regular maintenance necessary for the LTY Teeter Free Step?
Yes, it’s important to perform regular maintenance such as checking cable connections, cleaning the device, and keeping the software updated for optimal performance.
Conclusion
Programming the LTY Teeter Free Step can significantly enhance its utility, allowing users to customize workouts and tailor their experience to personal fitness goals or rehabilitation needs. By following the steps outlined—connecting the device, navigating the software, adjusting settings, and creating custom exercises—you can ensure that the device works efficiently and effectively for its intended purpose. Regular maintenance and troubleshooting tips will also help in keeping the device in top condition, ensuring longevity and smooth operation. With the right approach, the LTY Teeter Free Step becomes a versatile tool for improving fitness and rehabilitation outcomes.
Don’t miss out on updates and alerts – stay connected! England Buzz